봇 설치
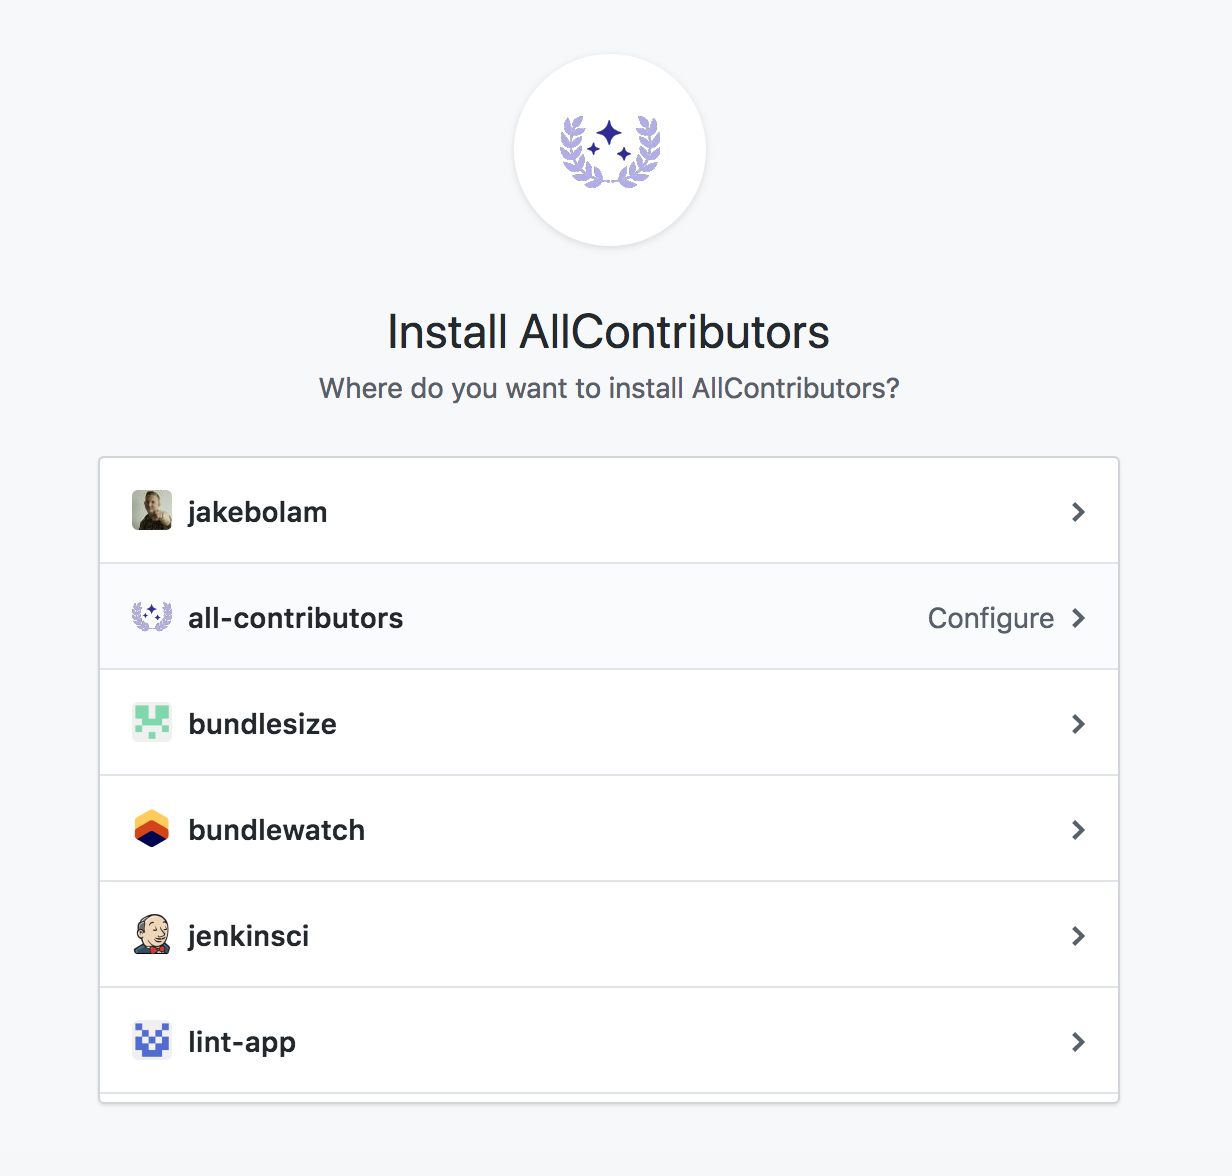
1. AllContributors GitHub 응용 프로그램 설치
2. 레포지토리 구성
3. README.md 생성
Ensure you have a README.md file at the root of the project (it can be empty).
기여자 테이블을 README.md 이외의 장소에 배치하고 싶은 경우, 첫 번째 봇 PR을 병합 한 후, 기여자 테이블을 이동할 수 있습니다. bot configuration 의 파일을 참조하세요.
Make sure to add this in the markdown:
For the list:
## Contributors

<!-- ALL-CONTRIBUTORS-LIST:START - Do not remove or modify this section -->
<!-- prettier-ignore-start -->
<!-- markdownlint-disable -->

<!-- markdownlint-restore -->
<!-- prettier-ignore-end -->

<!-- ALL-CONTRIBUTORS-LIST:END -->
Note: Extra line is very important in order to make it work properly.
For the badge use the following, replacing projectOwner with the relevant GitHub username or organization name, and projectName with the relevant the GitHub repo name. Style, color, and other parameters can be customized to your liking — see https://shields.io/.
[](#contributors)
Please create the
.all-contributorsrcfile for the first configuration. It can only have the mandatory information in it to begin. The bot will update it automatically with default config in the first PR. Here is the minimal.all-contributorsrcfile to add in your repo :{ "projectName": "<insert the repo's name>", "projectOwner": "<insert the repo's owner/orgs>" }
4. 기여 문서 업데이트
당신의 CONTRIBUTING.md를 업데이트하거나 기여자가 자기 자신을 추가하는 방법을 고려해 봅니다. 당신은 bot usage documentation을 링크할 수도 있습니다.